In our Food Styling 101 series, Lisa Bolton offers up food styling tips for conveying the stories you want your food to tell. Her advice will help you create food photography that entices readers to make your recipes and read your articles. This month Lisa shares the first of two posts on food styling tips for eggs, dealing with the standalone egg in all its glory.

It's my belief that a person can be unsure of a lot of things in life, but there's one thing they know for certain: how they like their eggs.
I'm very excited to be back with another season of food styling tips, and we're going to kick things off with a two-part series featuring eggs! This month I'll walk through some of the techniques of styling and propping the standalone egg in some of its most popular forms. In Part Two, we'll tackle breakfast and brunch scenes featuring eggs.

Eggs are such a versatile, beautiful food. Adjusting a cooking time by a mere few minutes can take you from jammy goodness to a yolk perfect for piping into the half shell.

How To Style Whole and Raw Eggs
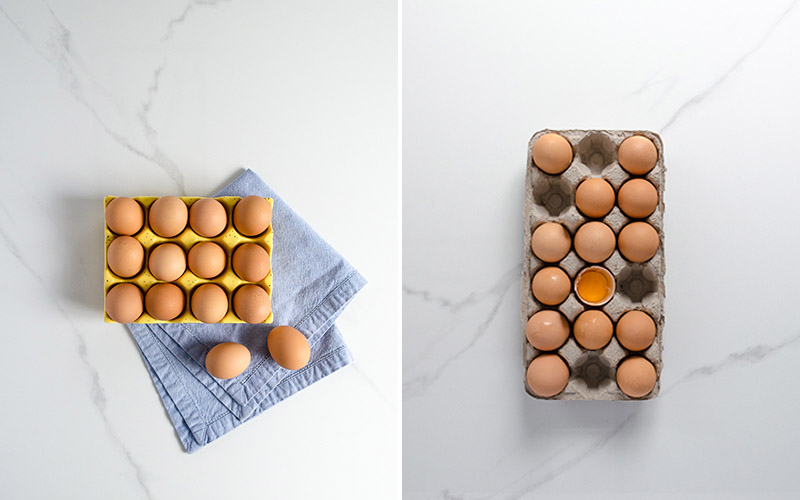
I touched on some of these aspects in my article on Styling Raw Ingredients but it bears repeating that there's always value in capturing an ingredient through its transformation process. And thankfully, the humble egg makes such a stunning subject. While at first glance minimalist styling seems too easy, just like in cooking, showing restraint can be the hardest part.

- Demonstrate restraint and intention. Start with just the egg, or the carton of eggs on your desired surface and take a few pictures. Slowly add elements one at a time until it feels right to your eye.
- Watch proportions. The image with the egg and the cast iron pan above would not have worked as well, in my opinion, with a larger pan. The pan is proportional to the egg (if I had added several eggs, I could have probably used a larger pan).
How to Style A Fried Egg
Capturing a picture perfect fried egg can be challenging. I've found that by following four techniques, you can get a beautiful fluffy white and a bright yellow yolk every time — and the egg is still completely edible after the shoot.

- A dry, non-stick frying pan. Using no oil, pre-heat the pan to a low/medium heat before adding the egg. Using no butter or oil ensures bright white yolks with nice clean edges.
- Strain the raw egg. Crack the egg through a fine mesh sieve over a small bowl. There is a small amount of water in the white of the egg and this can run, creating uneven edges. Now sometimes this could be the look you're going for, so if so, you can skip the sieve step. I would always recommend cracking into a bowl though, because the one time you don’t is the one time the yolk breaks or you end up with shells.
- Low and slow. Turn the heat down to somewhere between low and medium and just wait. The process will take about five minutes, but this gives you very bright, puffy whites.
- Spray your flipper. Once the white is completely set (the yolk will still be a soft/medium), spray your flipper with a little bit of cooking oil before you lift the egg onto to your plate. This ensures an even transition from frying pan to finished dish.
How To Style A Soft Boiled Egg

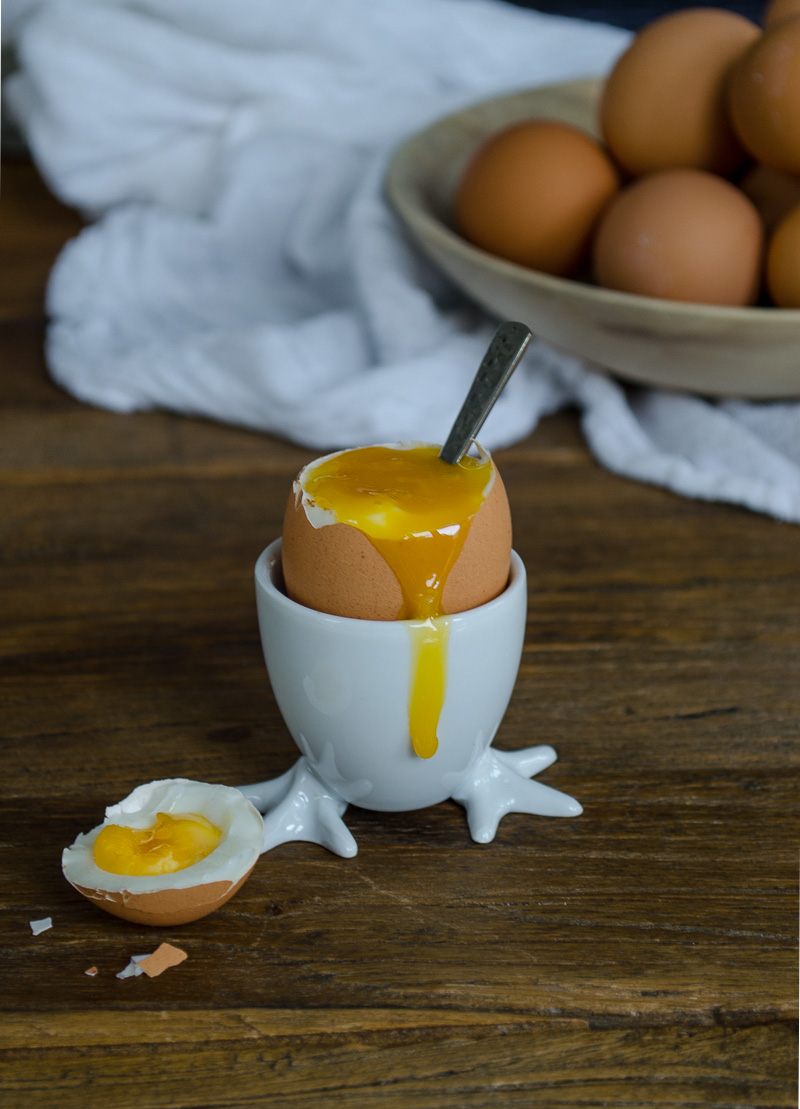
When styling a soft boiled egg in the shell, my preference is to style it straight on or overhead. I love the overhead shot for the perspective of creating a scene where the viewer wants to plunge deep into the cavernous yolk. The strong use of shapes in composing the photo lends itself to multiple circles and lines (by way of a spoon or toast slices) and is very inviting and pleasing to the eye.
Cookbook author and renowned food photographer Dennis Prescott used the term “chasing the drip” in describing what food photographers are after when shooting an ice cream cone: that luscious runaway drip that's just calling out for your finger to rescue it. I think the same thing applies for the runny yolk — it really is about chasing the yolk drip.

Three tips for styling a soft boiled egg are:
- Undercook the egg slightly. Remove the egg about 30 to 60 seconds before you would normally for a soft boiled egg (so about 5 ½ minutes) and then place it directly into a bowl of ice water.
- Always cook extra. Cook one or two extra eggs for the extra yolk. Once the first egg is done and I've set up the shot, I then scoop some of the runny yolk from the extra egg and gently spoon it onto the hero egg for the shot. This extra yolk makes it easier to get multiple options for capturing the quintessential drip.
- Lift it higher. Find cute egg cups and stuff a little paper towel in the bottom to prop the egg up a little higher. Sometimes the egg can sit quite low in a cup, so propping it up allows the viewer to see more of the shell and create a longer runway for any drippy goodness.
How To Style A Devilled Egg
It was just a few years ago that the devilled egg seemed to make a resurgence. Search "devilled eggs" and you'll find no shortage of mix-in and topping options.

Three tips for styling the perfect deviled egg are:
- Create a larger scene. Don’t be afraid to have some negative space around the devilled egg. Devilled eggs are instantaneously recognizable. If you scroll through devilled egg photos, they're notoriously shot very close and tight. Consider backing up and creating some resting area for the eye around your hero eggs.
- Go flat instead of the swirl. While I appreciate the perfect swirl on a cupcake, there's a reason I'm a cooker and not a baker. You can absolutely pipe your yolks onto the white and create that perfect swirl an ice cream vendor would be proud of, but in a scrolling sea of perfect egg swirls I like to find a way to make the egg stand out.
- Think outside the shell. Why lie down when you can stand up?! Tip your egg upright and give the vertical devilled egg a try. This is a great way to style and practice your swirl with just a small tip showing.
Eggs are such a fun and inspirational food to style. We'd love to see what you're doing with the almighty egg.
Make sure to tag your egg photos with @foodbloggersca and use the hashtag #fbcigers for a chance to be featured in our Instagram feed.
Now it’s time to get cracking! (Sorry, it had to be said!)
MORE READING
- Food Styling: Tips for Styling Soups For The Camera
- Food Styling: Tips for Styling Casseroles
- Food Styling: Tips for Styling Pasta Dishes
Lisa Bolton is food stylist, recipe developer and creator of beautiful food boards. You can find her work at lisadawnbolton.com. She lives in the Lower Mainland of BC. Her first cookbook, On Boards, (affiliate link) is due to be released by Appetite by Penguin Randoms House in October 2018 and is available for pre-order. You can reach her on Instagram, Twitter, Pinterest and Facebook.


Styling eggs can be so tricky! “Chasing the drip” is such a great term – gotta capture that yolk porn! Thanks for all the tips – looking forward to Part 2.
You didn’t go over how to hard boil an egg to where the shells comes off easily. It’s simple. Bring water to boil BEFOR you add the eggs.