As food bloggers, we all understand how important food images are to the impact of our blogs. In today's article in our running series on food photography, Amanda Orlando shares tips on how to assemble and use a great collection of food photography props that will take our food photography to the next level.

One of the keys to beautiful food photography is a well-curated kit of food photography props. It’s evident when looking at a food blogger’s account if they’ve been careful in deciding which dishes, cutlery, napkins, and other items make it into the shot. That being said, a great kit doesn’t have to be big! Your kit is something that can be grown and edited as you learn and experiment as a photographer.
The way you pull a shot together can really make or break how the food is presented. It can convey a feeling to the viewer, allow them to imagine the taste and aroma of the recipe, and entice cravings so that they recreate it in their own kitchen.
Here is a list of things to consider when shopping for food props.
Decide on Your Food Photography Style but Don’t Feel Married to It
It’s important to know what kind of brand you want your site to have. To do this think about what look really speaks to you. Scan other food blogs and make a mental list of the ones that stand out. Deciding on a particular look will help you form your brand, which will help determine your vision. Readers will remember the feeling they get when they visit your site as opposed to specific images on it. Do you want it to look rustic and artisanal, minimalist and simple, or vibrant and energetic? These are just some examples of the endless array of unique aesthetics out there.
readers will remember the feeling they get when they visit your site as opposed to specific images on it
Once you decide on the look and feel you want, don’t feel bound by it or let it prohibit you from experimenting. You may stumble on something uniquely you or find inspiration in unexpected places. Maybe you just feel something about your photos is “off” when you look at them assembled together on a newsfeed, or you’re looking to create more continuity but aren’t sure how best to approach it.
Source Your Food Props Carefully

My motto is that each item in my kit should serve a purpose. Sometimes you take a chance and buy something that doesn’t really work out, and that’s fine. But for the most part each item should hold creative value. I have a set of bowls that I’ve used repeatedly, more than any other item on my shelf. Every time I use them I feel inspired to create a look, and I reach for them any time I’m in doubt or can’t get a shot to work.
Items that I’ve weeded out may be things I bought to add variety but didn’t really like, or items that I purchased before I had envisioned my aesthetic and was just buying quantity over quality. In the interest of always presenting my best work I donated them or found other uses outside the blog. Just like cleaning out your closet, if you only have accessories that you actually like, it’ll be a lot easier to put a shot together!
Consider Size and Scale

Accessories can highlight the star element of a photo but, chosen improperly, can draw the focus away from the food. They can also lead to choppy cropping and poor framing. Try keeping the size of the plate, bowl, or board in line with the size and shape of the food on it. Also keep in mind how wide you want the shot to be (a macro detailed shot, or a scene where food is just one facet of the photo).
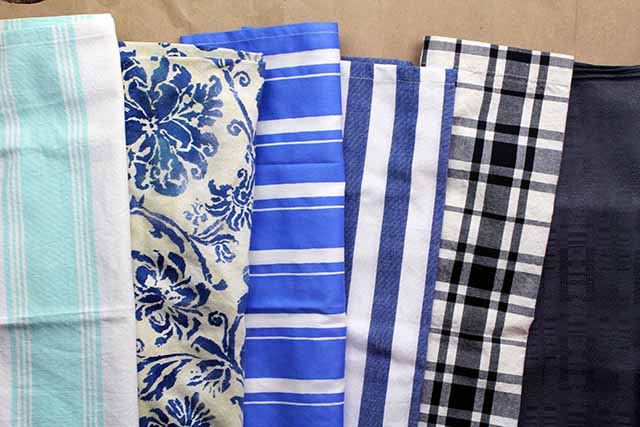
Another element to be mindful of is the scale of prints on napkins, plates or tablecloths. Accents like these can draw the attention away from the food if they’re too busy. Try uncomplicated colour palettes and patterns for a subtler look.
Think About Texture

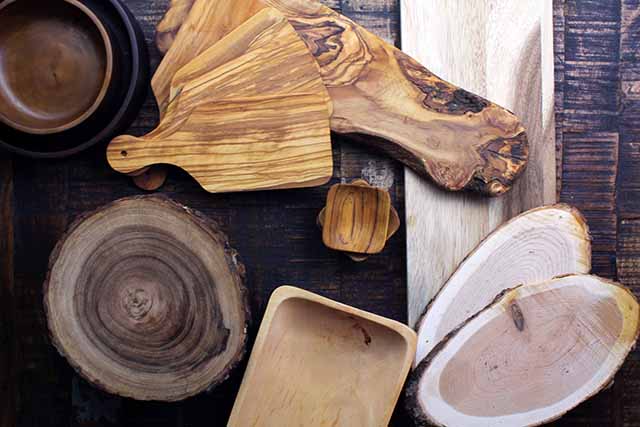
Texture adds richness and interest to a photo. It adds dimension, especially when doing a one-toned shot (e.g.. all shades of white or grey). Think about how textiles, surfaces and materials all work together. Play with woods, natural stone, canvas, paper, stone-finish bowls, wooden bowls and hand painted pottery.
Shiny smooth bowls can be contrasted with highly textured foods to add visual interest, but remember you may have to edit out your reflection. Even consider the texture of the food you’re photographing. How can the texture be enhanced?
Use Natural Accents

Try using seasonal accessories like gourds, fresh flowers, leaves or pinecones. They can help set the tone of a photo, indicate themes and add texture.
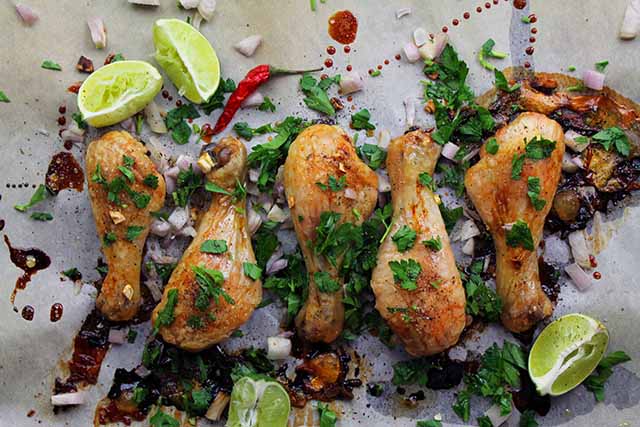
Spices, seeds, green leafy veggies, sliced citrus and garlic cloves make delicious-looking natural accents. They’re things you probably already have in your pantry and they help convey the flavours of the dish to the viewer.
How Much Variety is Necessary?
Before Instagram you could probably get away with using the same accessories repeatedly on your blog without each shot looking too similar, as the pictures were broken up by text. But given that Instagram is a rolling feed of all your photos side by side it becomes very obvious when you recycle the same layout time after time.
That doesn’t mean you need to go out and buy more dishes to add to your kit; it means you need to vary how you use them. Experimenting with different angles, compositions, shadows and settings can add variation to your shots without having to buy new items.
When in doubt, remember to let the food be the star of the frame. After all, accessories are just that: pieces meant to accent and enhance the appearance of the dish.
How to Curate Your Accessories for Beautiful Photos was written by Amanda Orlando of the blog Everyday Allergen-Free. You can follow her on Instagram and Twitter.


Love this. Styling is one of my favourite parts of food blogging. I am certainly guilty of creating an entire post around a certain beautiful object.Going forward I hope to use some of the more natural aspects of styling. Cheers!
Great post….was just about to throw out some wood….need it now.