In our Food Styling 101 series, Lisa Bolton shows you techniques for conveying the stories you want your food to tell. Her advice will help you create food photography that entices readers to make your recipes and read your articles. This month she shares her tips on how to food style cakes even if you aren't an experienced cake decorator!

Food blogging is such a visual medium that most food bloggers already know the popularity of their content can be as much about the accompanying photos as the recipe. No matter how tasty the dish, it’s the story the photo tells that draws the reader in. Like any art (and food styling is an art), food styling is incredibly personal and subjective. But, there are a few styling techniques that will help project the story you’re trying to tell with your food.
This month’s food styling focus: Cakes (even if you have no cake decorating experience!)
Cakes are special. They require an effort that is often reserved for special occasions; a celebration of some sort. Therefore determining the story you want to tell may actually be quite easy.
- Is the cake for a child’s birthday?
- Is this a late night dessert after an adult celebration dinner?
- Is it a bright Mother's Day picnic on a sunny spring day?
Think Simple and Remember the Cake's Story

The reason or occasion for which you are baking this cake will dictate the mood of the story and the accompanying props.
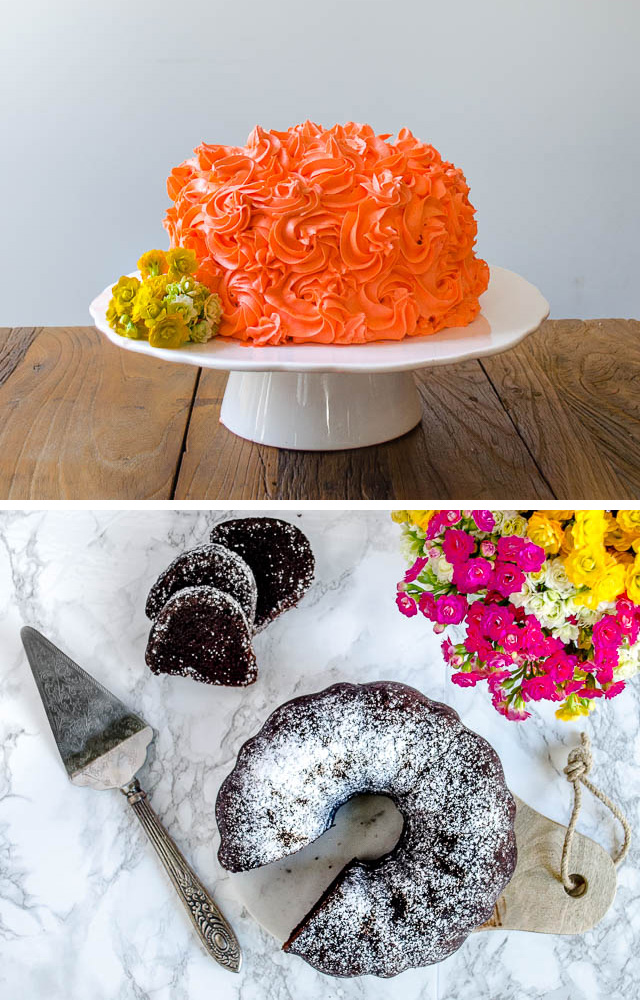
For this discussion, we are styling two cakes: a more intricate and bright rosette layer cake and then a darker, simpler bundt cake.
The beautiful thing about styling cakes is quite often they do not need much styling at all. For example, consider styling a cake versus a bowl of lentil stew. The lentil stew alone is not much to look at. It is going to need a spoon, garnish, probably some table props and definitely pops of colour.
However a cake sitting on a plate, can actually benefit from less styling and will shine with a simple background, uncluttered of props. When styling cakes, less is often more. I approach a cake styling with minimal to no props and add only if necessary. The cake is the hero - and a beautiful one at that.
The Most Important Step in Food Styling Cakes
The single most important step in styling cakes is planning out the order of the photo shoot. This is because there are really only two different shot styles: the whole cake and the piece of cake. Once you cut that first piece, it becomes very difficult to go back and try to recreate a whole cake shot again.
Do I Need a Cake Stand?

Do you need a cake stand? Probably. If cakes are something you style on a regular basis you are going to want to invest in a cake stand. I picked up both of these stands from a thrift store. The white one is actually quite chipped up but very easy to fix in post production.
Bundts for Beginners
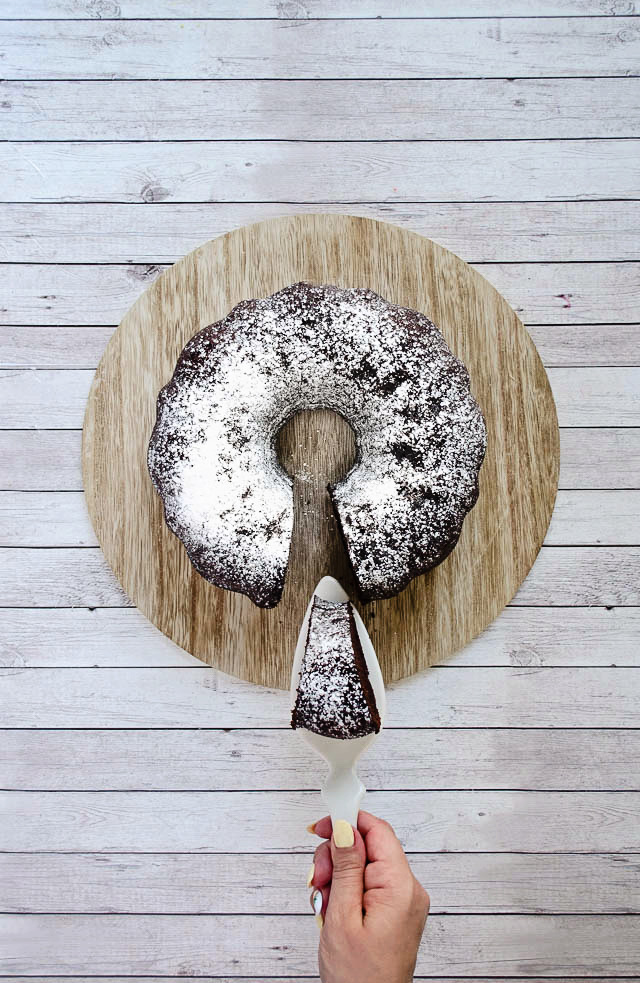
If you are not a skilled cake decorator (like me!) I would highly recommend starting out with a bundt cake. The beauty of the bundt is the shape of the pan does most of the work for you. No piping bags required. Pop a cake out of a bundt pan and dust with icing sugar or drizzle with a glaze and you have yourself a beautifully styled cake.

One of my objectives in any food styling is to try and bring a sense of movement to a still shot. A cake on a pedestal is a very still shot - like it is posing. This is a beautiful look, but to add some warmth and motion, the most effective way is to add hands to the shot.
In this case, I shot the first piece being cut. This is always the most anticipated cut of a cake - that first one. By cutting the cake and lifting the wedge just slightly, it creates a sense of the viewer being there for that first slice.
The 4F’s of cake styling: Forks, Flowers, Fruits and Frosting.
As I mentioned above, I strongly believe less is more when it comes to food styling a cake. But sometimes it does need a little help to bring warmth and personality into the story you are trying to tell. The good news is the four basic food styling props both are easy to find and inexpensive.
Forks

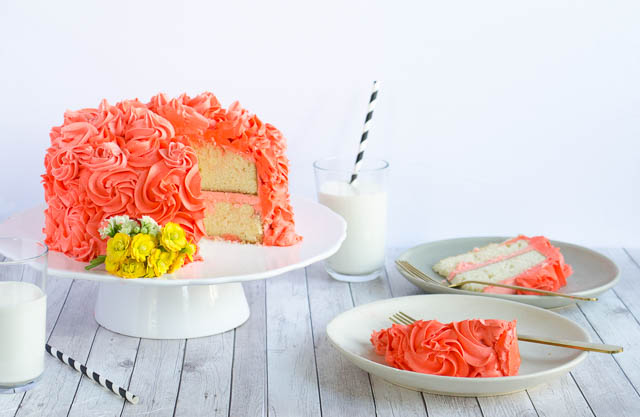
I like a 2:1 ratio of forks to plates. When cake is coming out how often does someone say “I’d share a piece”. It invites your audience into your frame. It says – share this with me.
Flowers

Pick a complimentary colour to the cake (which is the colour opposite the main cake colour on the colour wheel) or pick any colour that will really pop against the cake and makes sense for your story. Placing flowers next to the cake, on the side or on top adds a soft, femininity to the setting.
Fruits

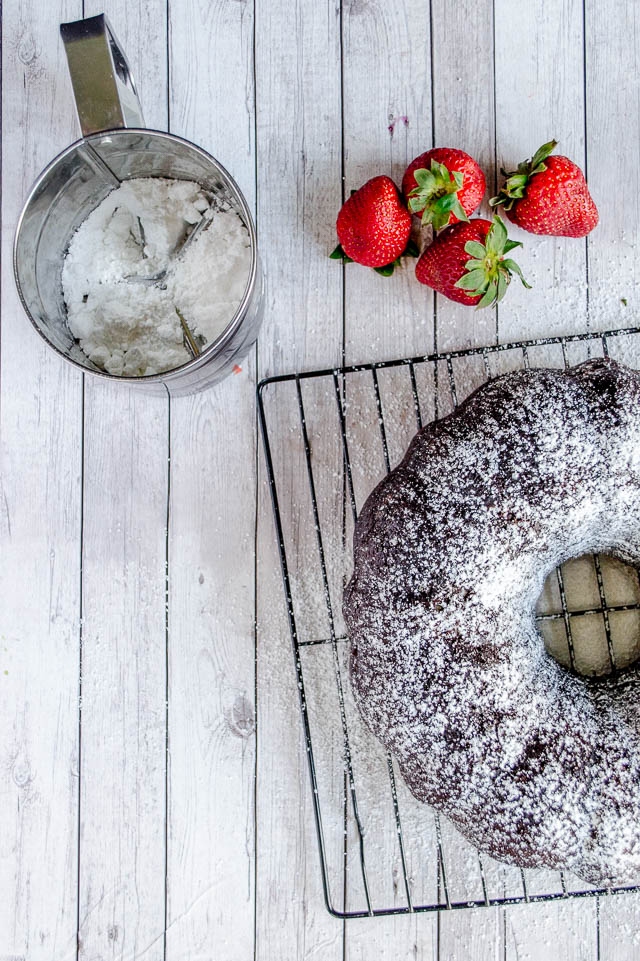
Cherries, strawberries and raspberries are all great choices to garnish a cake. If you have a dark chocolate cake, a fresh cut strawberrie with the greens in tact OR a curl of orange rind are both going to pop against dark chocolate
Frosting

For a more rustic, less styled look – styling the cake with the frosting or icing sugar in the shot is an easy prop. It conveys the feeling of I just finished this masterpiece and the kitchen still smells like cake.

While I do not consider myself a baker and am still learning to enjoy the process of cake baking and decorating, I really enjoy styling a cake. Unlike ice cream that melts, or greens that may go limp, there is no reason to hurry with cake food styling. It is fun to experiment and play with different props and colours to create just the mood you may be looking for. Enjoy!
More Reading
- Food Photography: Styling and Photographing Cookies
- Food Photography and Styling Books for Bloggers
- Food Styling: The Burger
- Food Styling 101: What Is a Food Stylist?
Lisa Bolton is the creator, writer and photographer behind Food Well Said, her blog about bringing thoughtfully prepared, whole food recipes. She lives in the Lower Mainland of BC and you can reach her on Instagram, Twitter, Pinterest and Facebook.


Beautiful cakes and so many great stalling tips. Thanks Lisa!
Thanks for all the tips, greatly appreciated! Beautiful shots, by the way!